 Or: How to save sewing mess-ups without sinking into despair
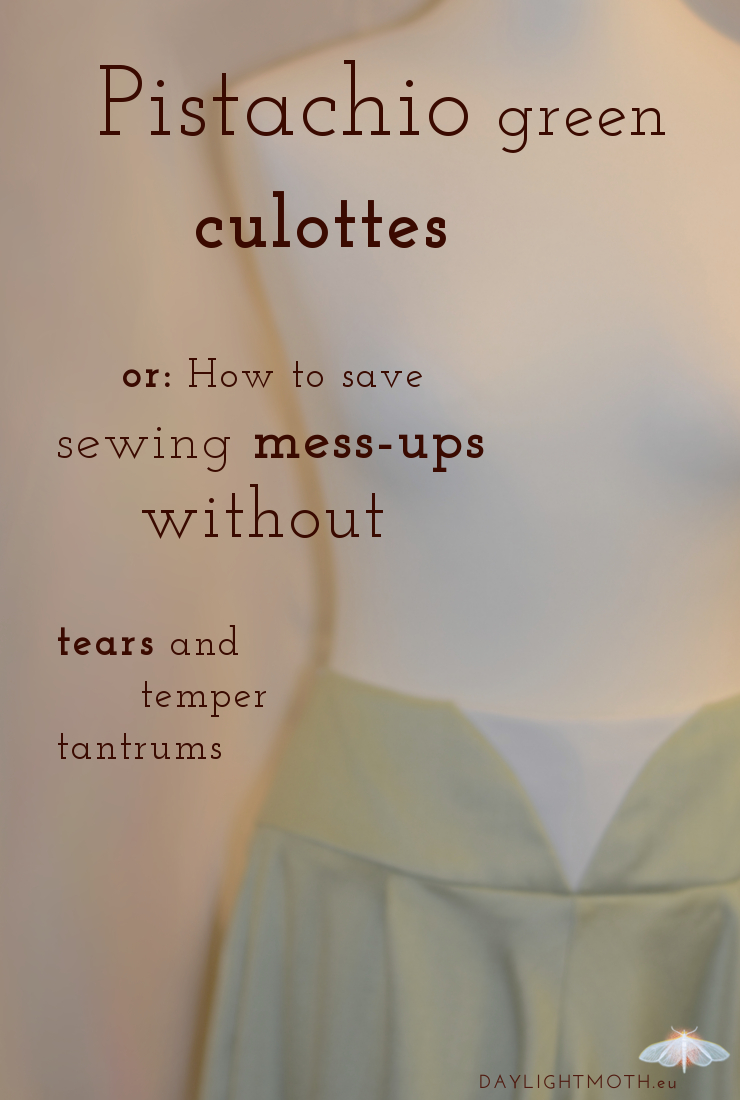
With spring approaching fast and bringing lovely weather I wanted to sew some beautiful pistachio green culottes. Buuut… I’m afraid it didn’t go so smooth with “just sewing a pair of culottes”. I never had this much trouble with any of my sewing projects in the past.
This was partly my fault because I suddenly failed at math and partly due to the fabric that turned out a lot more sensitive than expected. So this sewing project turned out to be a lesson in patience and perseverance more than anything else.
I found this beautiful fabric
I had bought the pistachio green fabric last year on my trip to Salzburg and I really love the fresh light green colour and the beautiful shine to it. I found it in the “designer fabric” department, so it was quite pricy, but I think it’s worth the money spent.
At first I thought I would like to make a pleated skirt. Then I chose the culottes because I love the style – midi length and wide leg – and it looks quite good on me. Also I decided that the culottes fit better with my figure and look more elegant and sophisticated. I wanted to wear them to work, so I opted for a little more seriousness.
Measure twice cut once – Oh, well…
For the pattern I followed the directions from PETIT MAIN SAUVAGE. Not! Ok, I started with her directions as a base, then added a broad waistband and two pleats at each side. Then everything went a little wonky with the measurements and the math involved (really can’t tell how that happened). So I ended up with just one tiny pleat at each side.
I joined all the relevant pieces with their rightful partners until I came to begin with the waistband. I planned it to be about 10 centimetres broad fitting snugly around my waist. But when I tried it on I thought I had cut it too short. So I cut in in half to insert a button facing in the middle. But When I pinned it down I realized that it came out ugly.
So, that left me with two halves of too short binding and no fabric left to just cut the piece again… But I refused to give it up as ruined. I was determined that I would find a solution and I forced myself to sit down and think of something. And then I really came up with a splendid idea.
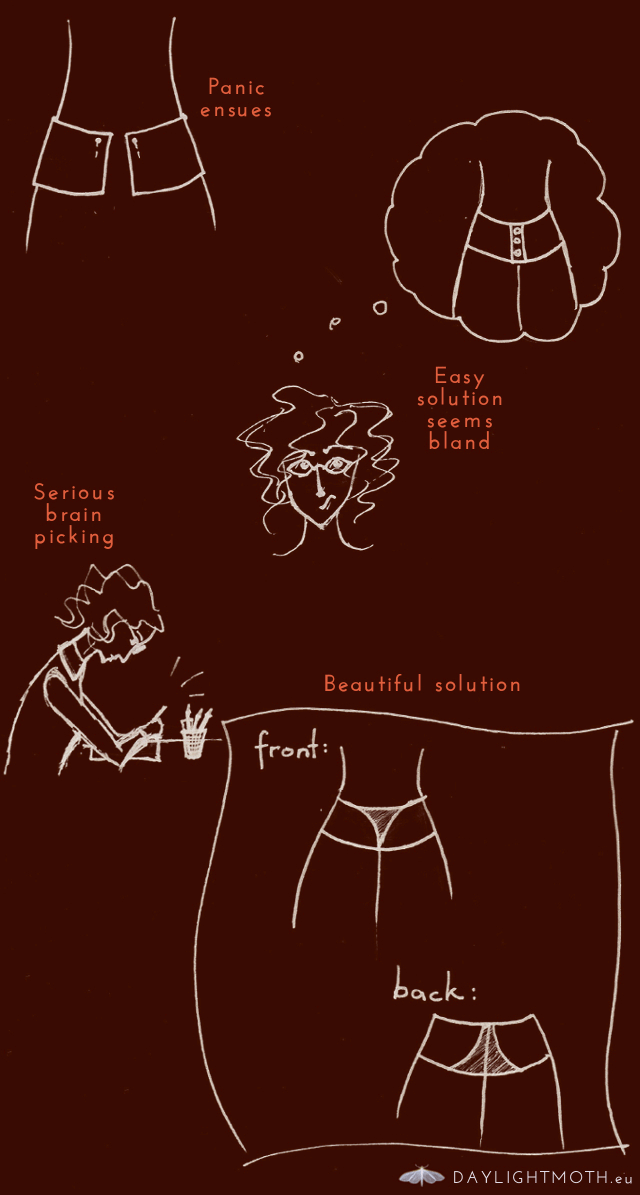
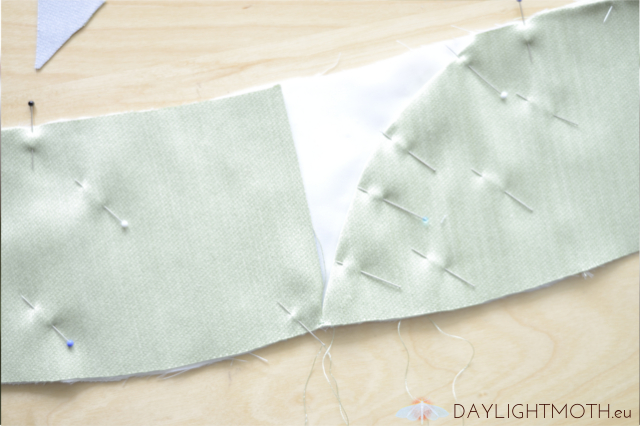
I added a contrast fabric in the front and back to add more length and I would connect these pieces in a round and decorative seam. This involved sewing per hand and consecutively a lot more work but it also made this piece unique and something special.
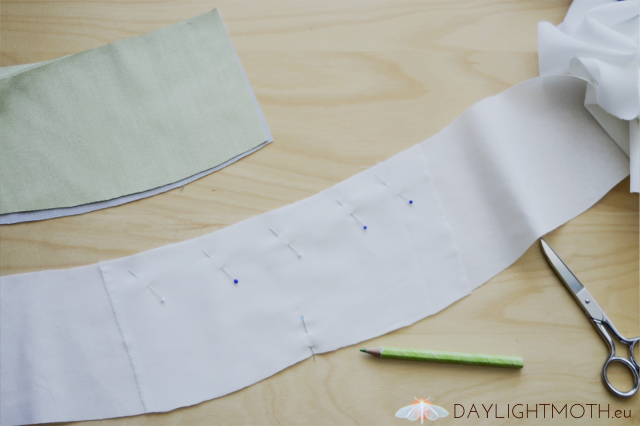
Little tip on the go: If your fabric frays worse than anything else, you might want to iron an inlay onto the back of it for more stability. I had to redo one of my seams because it had frayed.
I don’t make stupid mistakes – I make interesting experiments
So, just one more thing to add for this episode: In the end I realized that the seams had not been too short all along. I just must have tried it on weirdly. Ha! So maybe it should be: Measure twice, cut once, panic never! But maybe I needed this detour to really get the best culottes I am capable of. I’m glad that wrong measurements and irrational behaviour left me with a unique piece of clothing.
So, what I learned from this sewing project: Never give up – even when you think you’ve done something incredibly stupid or irreparable.
It’s only over when you’ve finished. It’s your decision. Creativity is full of wonder and maybe it’ll show you a way that is not what you wanted or expected but even better. Formidable things can arise out of alleged mess-ups. There’s just one catch: It’ll probably be more work.
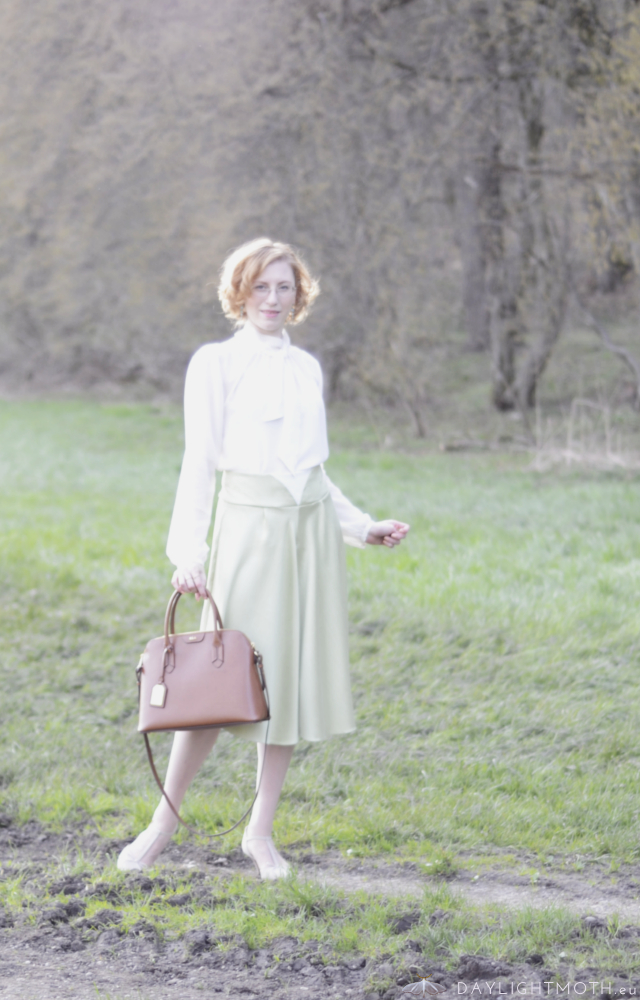
Actually the culottes photographed here are not yet finished yet. Just as I finally had everything together my zipper broke and I had to unsew it. I will add a little follow-up with a close-up of the back as soon as the zipper is repaired.
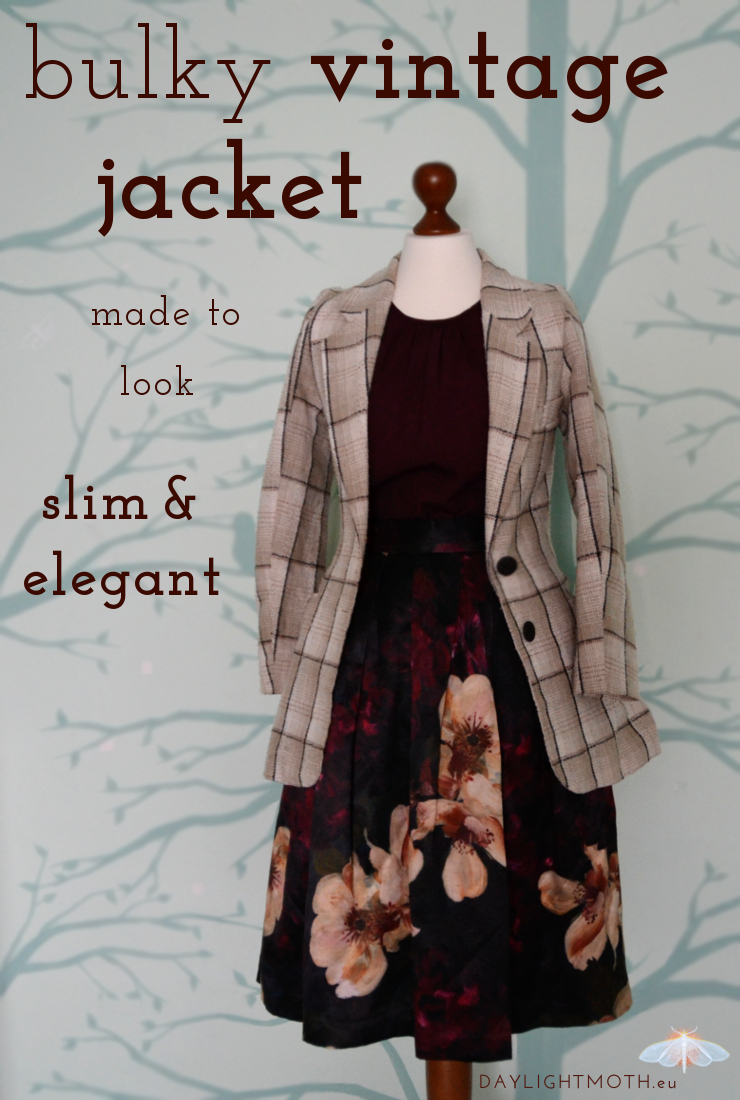
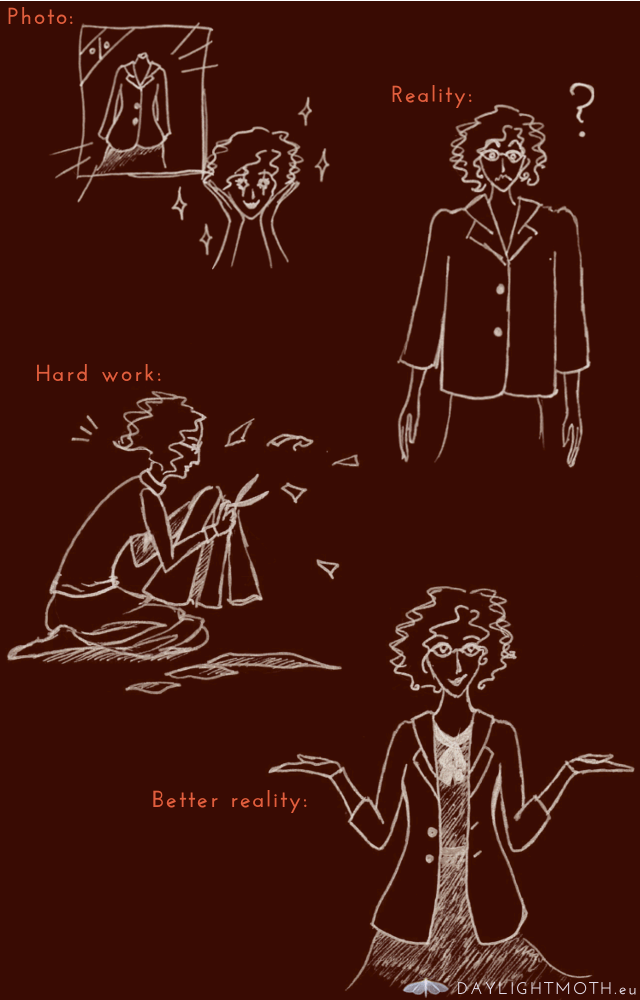
 Buying Vintage clothing online is like a box of chocolate. You can never be sure what you’ll get in the end – especially regarding the fit. I’ve often ended up with clothes far too big and bulky for my taste. But thankfully I have a sewing machine to tackle this problem. My newest altering vintage garment project is this beautiful jacket.