 Are you a big fan of New Year’s resolutions? Yes, me too. But last year I wanted to try something different. I set myself up for one challenge each month – went on a facebook diet, tried zero-waste living and wore different shoes each day for a month. Here’s what I did and how it changed my life.
January – Try a new recipe each week
This was easily the most fun challenge of them all. I wanted to get more variety onto my dinner plate and eat more varied. In the end, I liked this challenge so much I kept it up throughout the whole year.
I’ve never cooked so much in my life and enjoyed doing so. And I’ve immensely broadened my recipe stock and tastes. I learned to love artichokes and olives (all the Italians laughing at me right now). I learned how to make home-made hummus and got in the habit of making recipes from scratch. Also, I’ve never eaten healthier in my life.
So… This was a win! If you feel only the littlest bit inspired to try it too, do it!
February – No social media during your commute
Gasp! Yes, I did it, I said no to facebook and yes to more books. When I was younger I diligently read books during my commute but somehow lost it to scrolling through facebook on the go. This had to change. And I did it.
It wasn’t even hard to do without the social media. I just had to watch myself not to automatically grab my phone as soon as I got on the train.
Should you try it? Definitely! Try to see if you need your social media as much as it needs you and you might be surprised.
March – Go zero-waste
This was hard. Did I manage? No. For example, I bought a sewing machine and boom: box full of plastic wrap and polystyrene. But that was not the only plastic I bought (just to clear things up: zero-waste means zero-plastic and zero-cans to me). Sometimes, it’s pretty hard to get fresh spinach that’s not in a plastic bag and it’s even harder with rice or nuts.
I did however go to a “buy it in bulk” store once. Today, I buy all my other fruits and vegetables mostly unwrapped and I changed my toothpaste and toothbrush to zero-waste.
Was it worth it? Yes, but I can only do baby-steps.
April – Walk to work (well, the last mile)
Instead of taking the subway for my last part of the commute, I decided to walk (takes about 17 minutes). Did I manage? No, I did not. Because: Sometimes I was late, or it was raining, or I was not wearing the right kind of shoes… I did however re-take the challenge in June and already got much better. Then near the end of the year, I found out that I best do my morning walk as a separate event, not as part of my commute. I want to get up earlier and go for a walk in the woods.
May – No shopping fashion
I’m a big fashionista and I love shopping. It’s not like I’m constantly buying a ton of new clothes – it’s more that I’m steadily buying a few very expensive clothes. So, I wanted to see if I can stop it for at least one month. And I could! Yay, I win! Today, it’s so much easier for me to only buy clothes once in a while. The challenge definitely helped me to feel the need to constantly want more clothes.
June – Wear different shoes each day
If you are not a minimalist and you like cute shoes (Who doesn’t?), chances are, you might own a lot of shoes but wear only a few of them. I vowed to change that and wear a different pair of shoes each day.
This can be very enlightening: For example, you could wear a pair of shoes you always thought were very uncomfortable – and then find out that they are only moderately uncomfortable and wear then a lot more often.
You have more than 30 pairs of shoes? Try it!
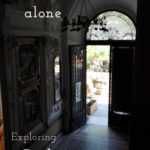
July – Travel some place unknown alone
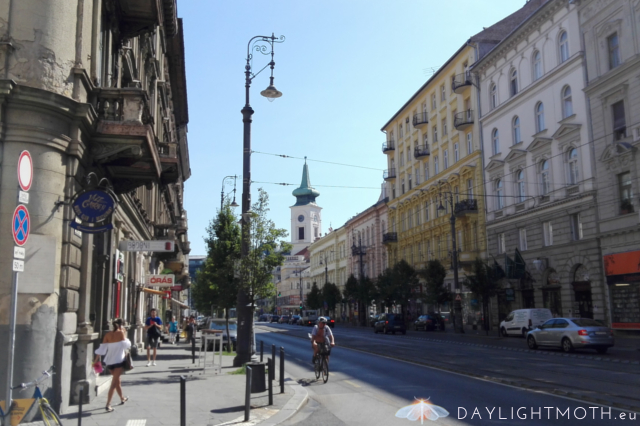
In July, I wanted to go on an adventurous trip somewhere unknown. I ended up visiting Budapest (without speaking one word Hungarian) and it was lovely and very hot and eye-opening. Want to know more? Here’s how I travelled to Budapest all on my own.
August – No sugar
That sounds daunting, right? And it was! But I did very well and had only one cheat day (My mother baked a cake. Of course, I said yes to the cake!). It was both harder and easier than I thought. Easier because I was already eating quite healthily and the shift was not earth shattering for me. Also, after some time, I was surprised that I did not miss sugar as much as I anticipated. On the other hand, I had some serious “I want chocolate now” moments and it was hard to not get it.
In the end, this was so much more manageable than I thought. It’s enlightening how easily you can adjust to no or only very little sugar. Also, it really changed my perception of taste.
Was it worth it? So much!
September – Meditate each morning
Almost did that. (I did not finish September but already started in August and managed an amazing 42 days streak) To be honest, it did not do great wonders for me – but that might be because I am a lucky person to be naturally calm and contemplative. Already got the Buddhist brain 😉 Or maybe I did not do it right? Or maybe, I need something different?
Was it worth it? Yes, because sometimes you just have to try some things to see if they work for you or not.

October – There’s an app for that
Near the end of the year, I got a little tired of the constant challenge-mode and it was harder for me to come up with new things. Then I found an app that suggests all kinds of things for you. It wanted me to do five push-ups or whistle a song (which I cannot) or suggests you go hiking up a mountain. So, that’s what I did. I asked my mother (much more experienced with all things outdoor than me) and on November 1st, we went up a mountain. Lucky me, living near the Alps, it was quite easy to get there.
I really loved this experience and I started to go on more hikes – even though it was winter. This year, I’m even planning a hiking vacation in the Alps and next year I want to cross them.
It’s kind of magical to try something you never thought of doing before. Who knows, you might end up loving it!
November – Have all my Christmas presents ready
Ha ha, nope…
December – No shopping again
Initially, I wanted to plan a dinner party for my friends. Then I realized that my apartment was in no way ready for that. So I changed it. I’ll save the dinner party for next year! I did hover add a second no-shopping challenge (except for Christmas presents), which was especially hard because I could not participate in Black Friday or all kind of sales.
On the other hand, this was very relaxing. Instead I spent lots of time planning for the new year and creating my 2018 goals.
I can totally recommend this: Make December the month of contemplation, not shopping and your new year will be so much better. J
So, what did I learn?
My year of challenges was a great year! I learned so much about myself: I learned that I can cook all the meals I want to cook, that I don’t really need facebook. (I didn’t regulate my facebook consumption after my challenge but a few months later, I just stopped using it without even trying. Saves me a lot of time.) I learned that there’s so much in my life I can stop or cut out.
It’s funny how so many things seem necessary or “part of yourself” or your life but if you question them you might find out that you don’t really need them. Or you might find out that some good habits that other people suggest are not really for you. On the other hand, you might embrace new things you never thought would fit you. Or you might discover that yes, you can totally cook even if your older brother always said you couldn’t.
It’s a great journey to discover more about yourself, test your strength of mind and have lots of fun while doing it.
 I’m not one of those people who’ve travelled half the world with just a backpack on their shoulders by the age of 22. I’m a shy introvert with a very bad sense of direction, picky eating habits and not very much into adventurous affairs. Still, I want to see more of the world and I decided I’ll do it on my own terms – starting slow with familiar territories and working my way up to more exotic places step by step. I also decided to do it mostly alone. Going somewhere unknown alone seemed scary to me at first, but it actually was not that bad – and it definitely has its benefits.
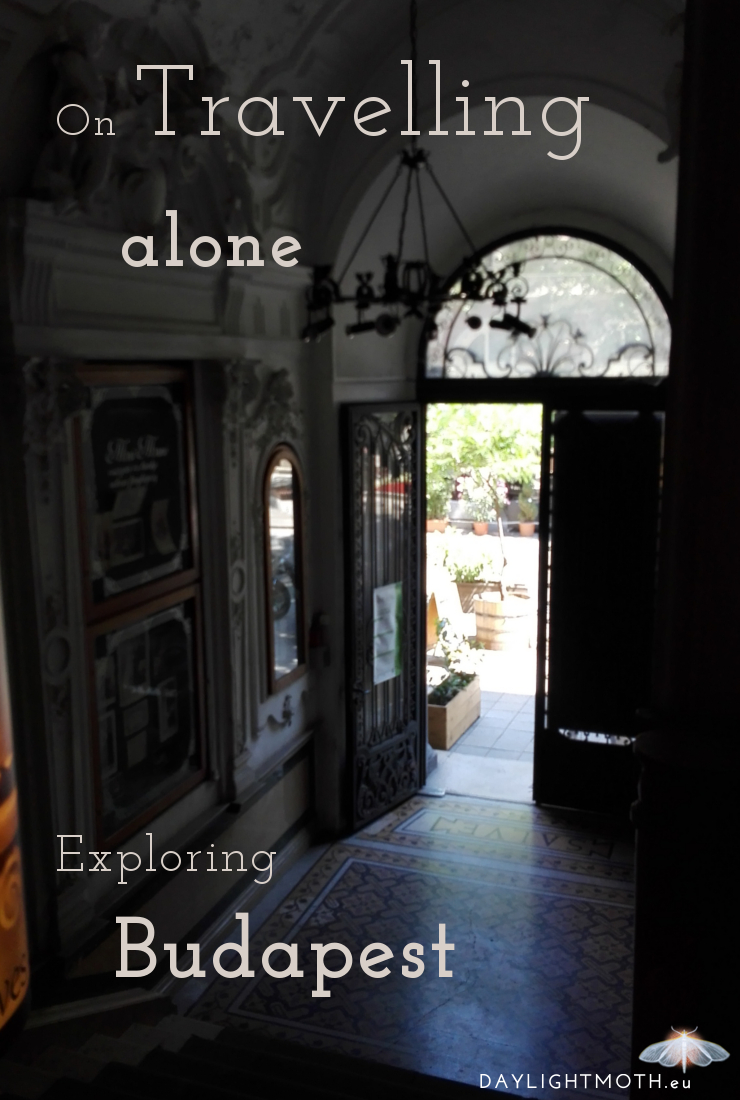


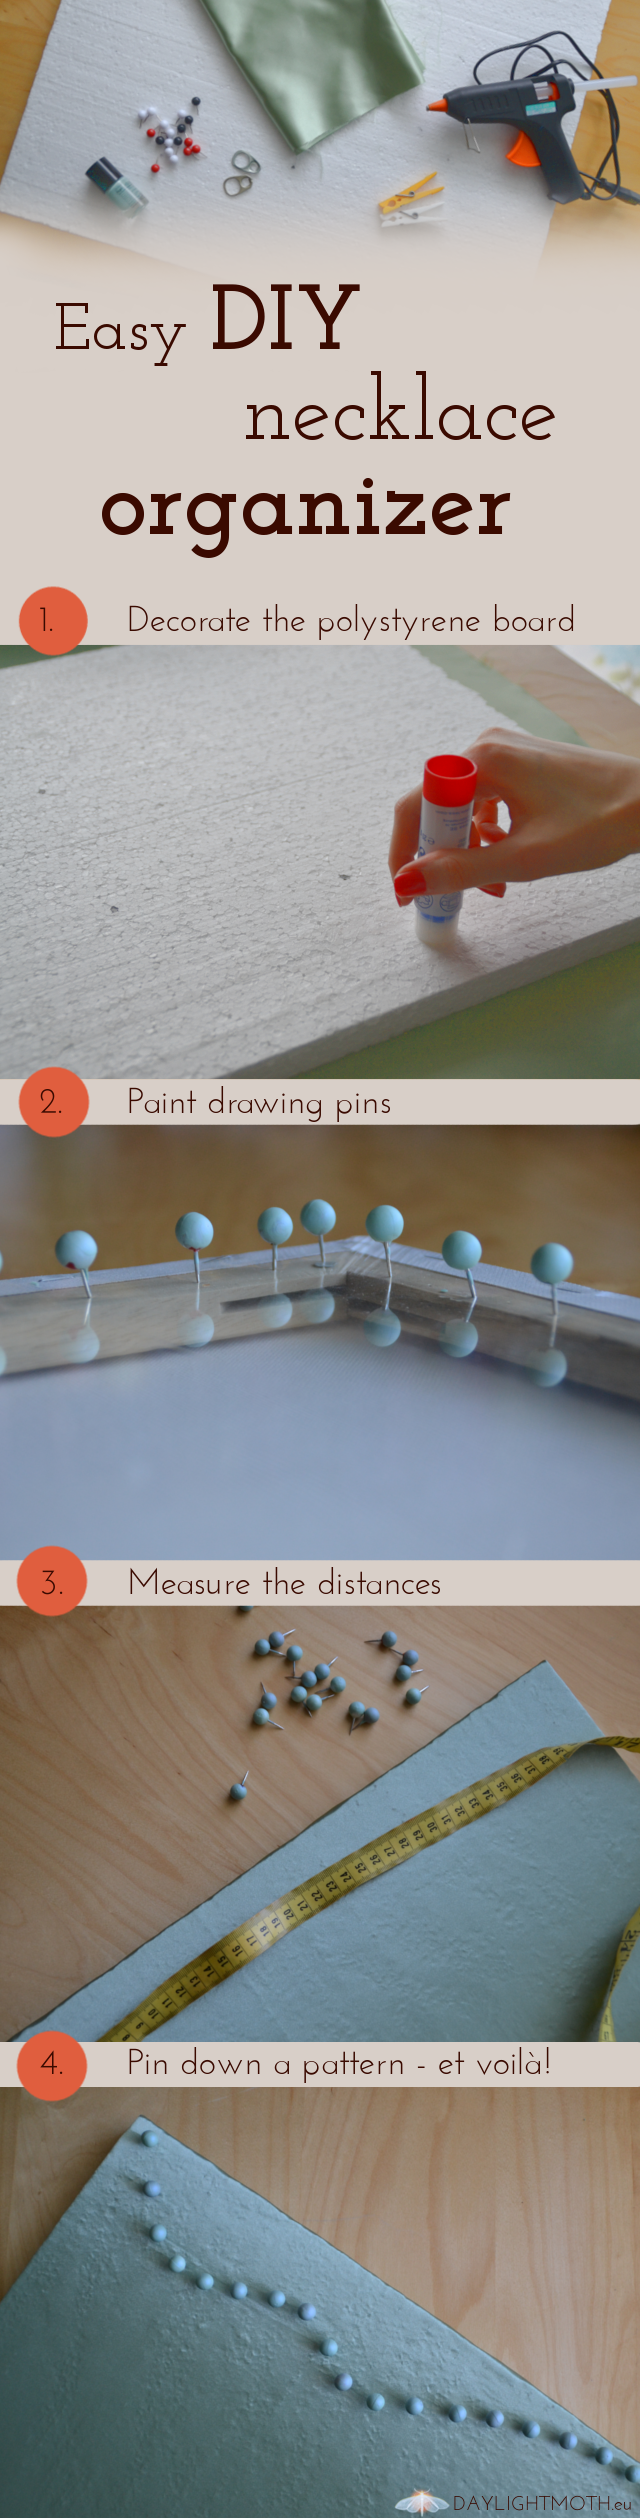
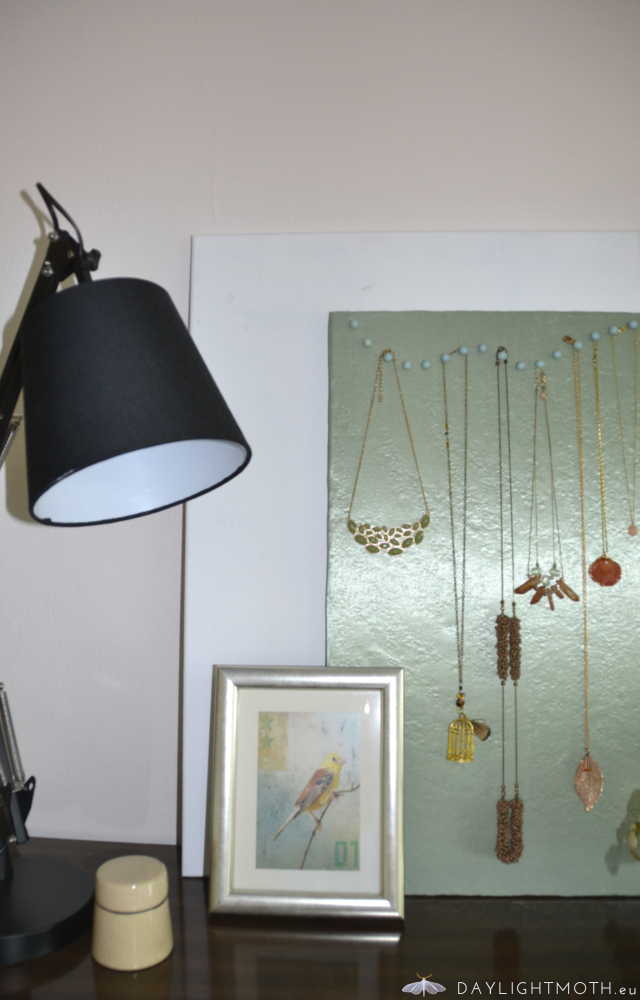
 This easy peasy to make DIY necklace organizer was made mostly from leftover material and stuff I already owned, so it came quite cheap to me. And I like that the display invites me to wear my jewellery more.
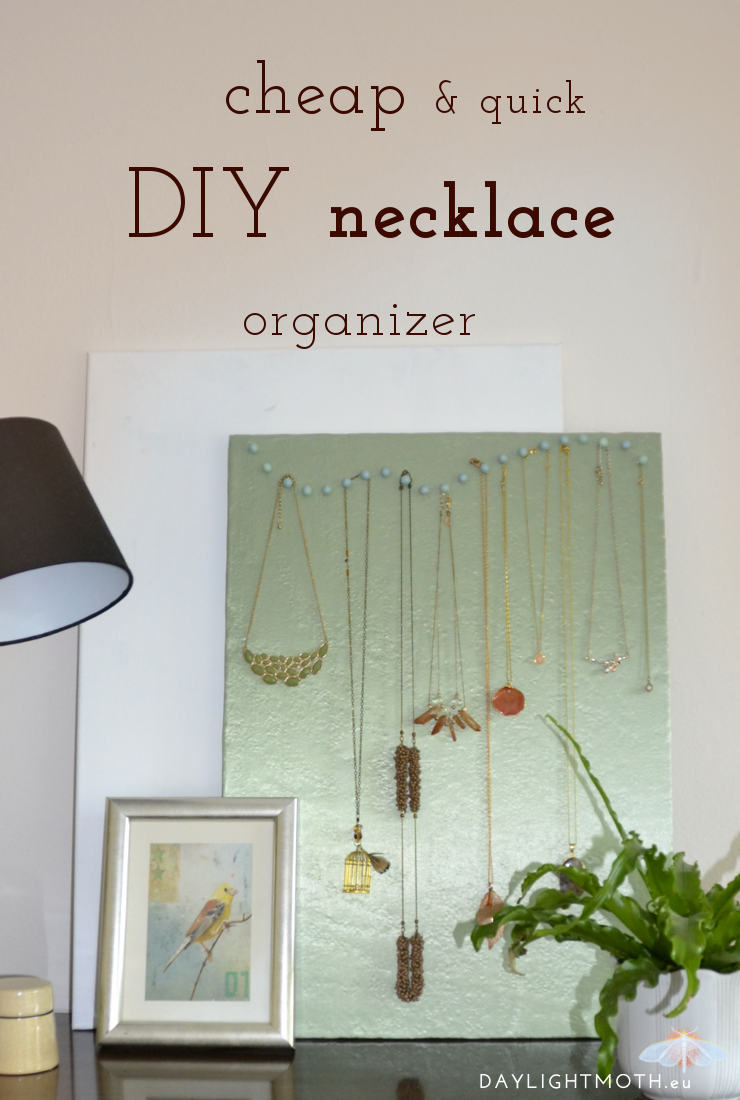
 This is post no. 3 in my series of how to get up for night-owls. So far I’ve written about
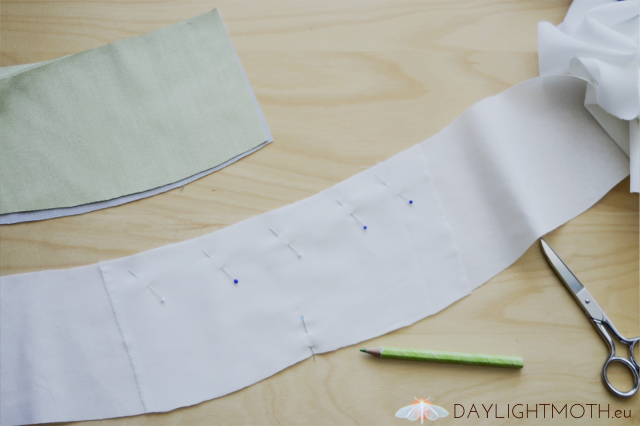
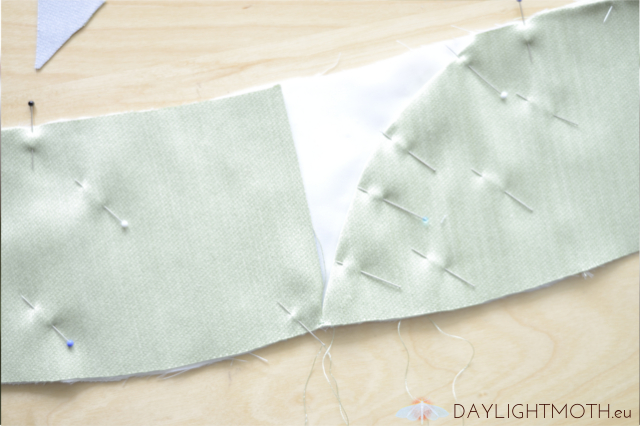
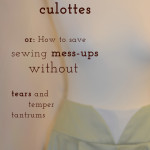 Or: How to save sewing mess-ups without sinking into despair
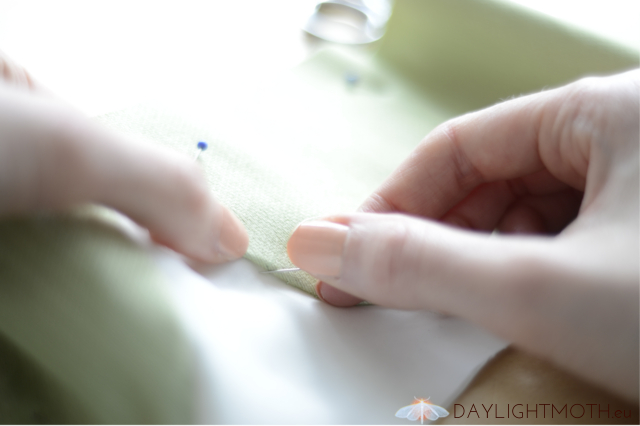
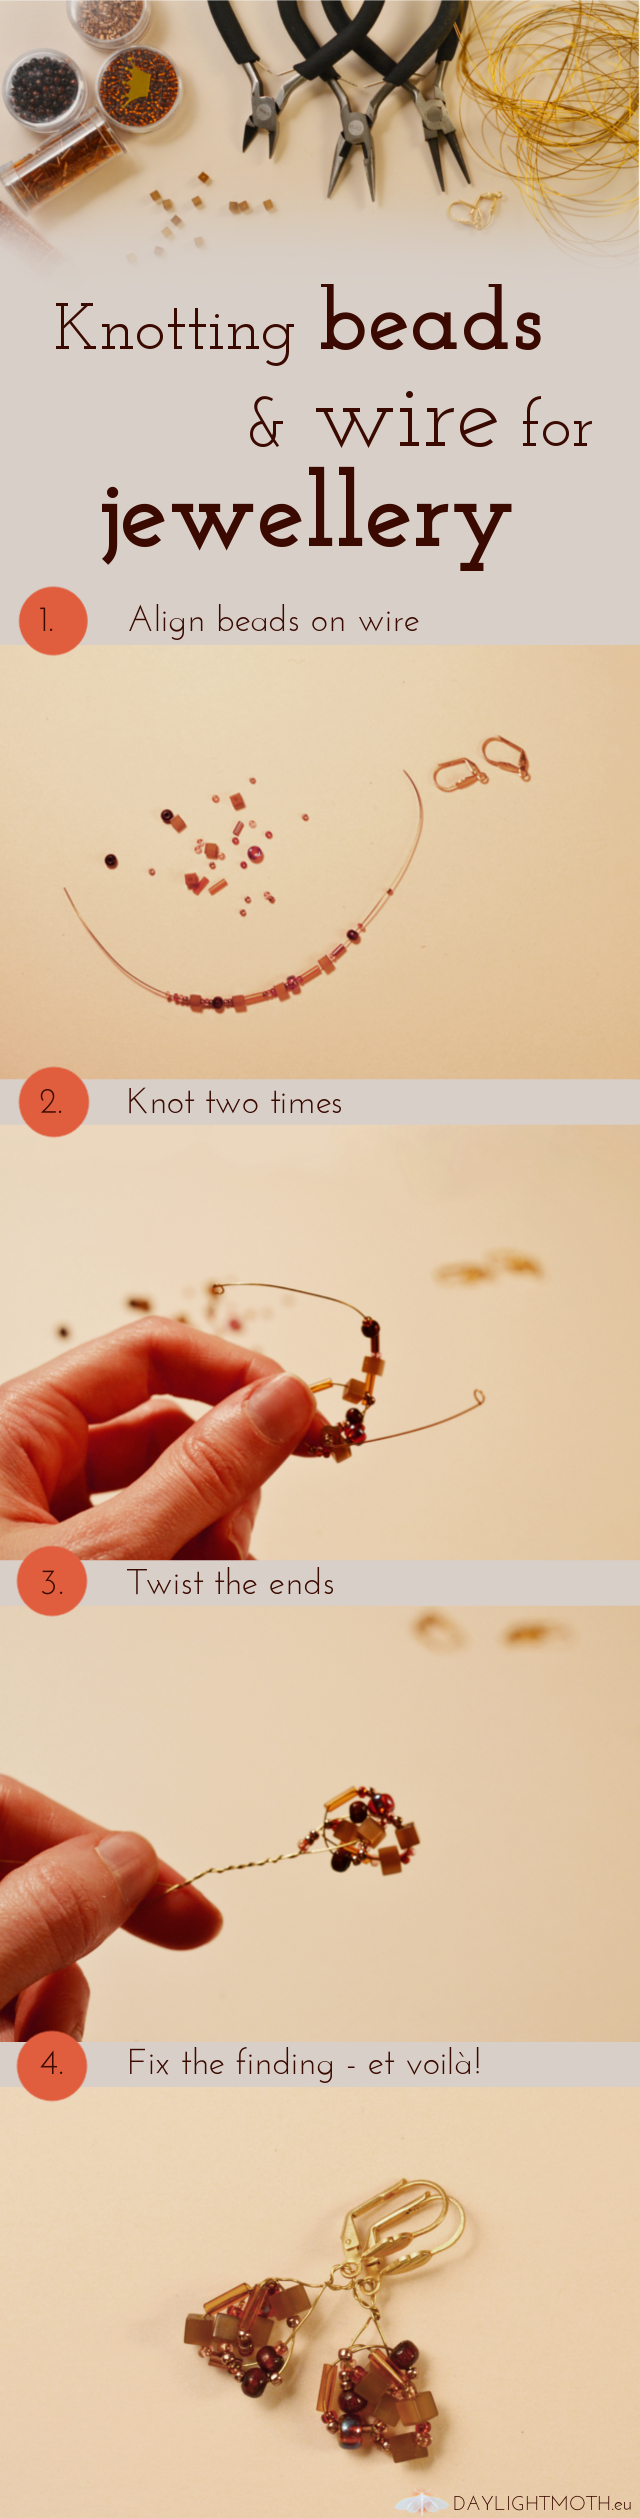
 In this post I want to share a way of combining different beads strung on wire and knotting them together to create jewellery. This is a great method if you want to use smaller beads. I especially like it as I can choose and combine colours or shapes as I like and create different effects. Also, it’s not very complicated or time consuming.
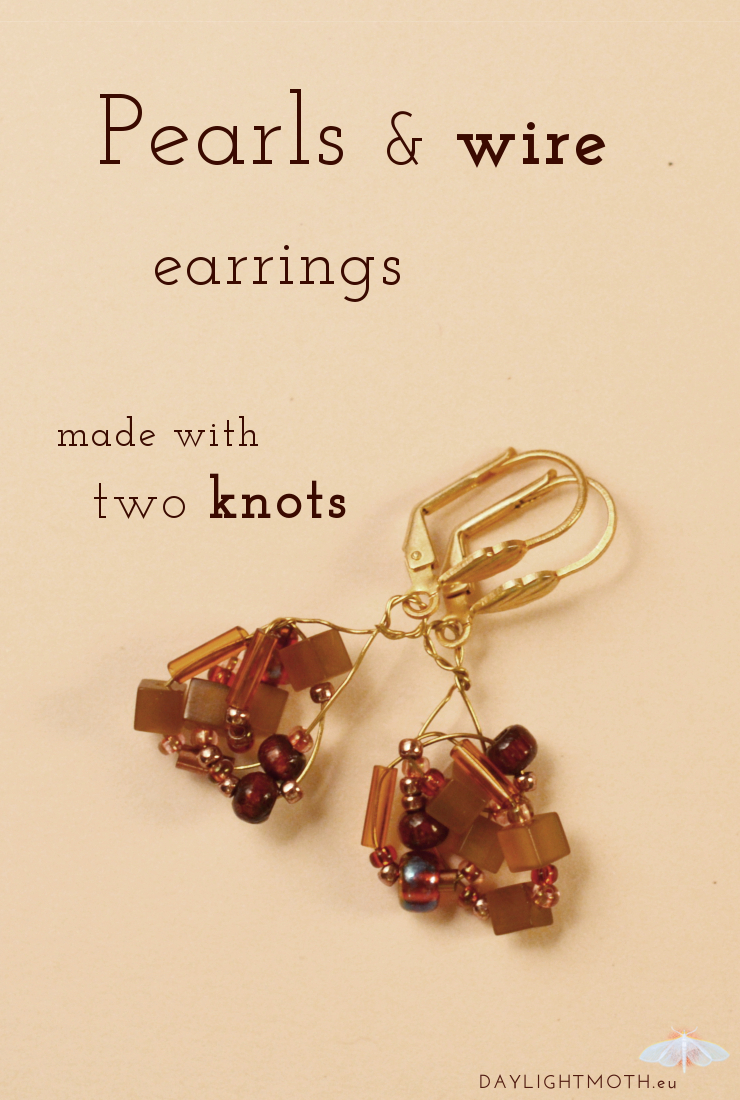
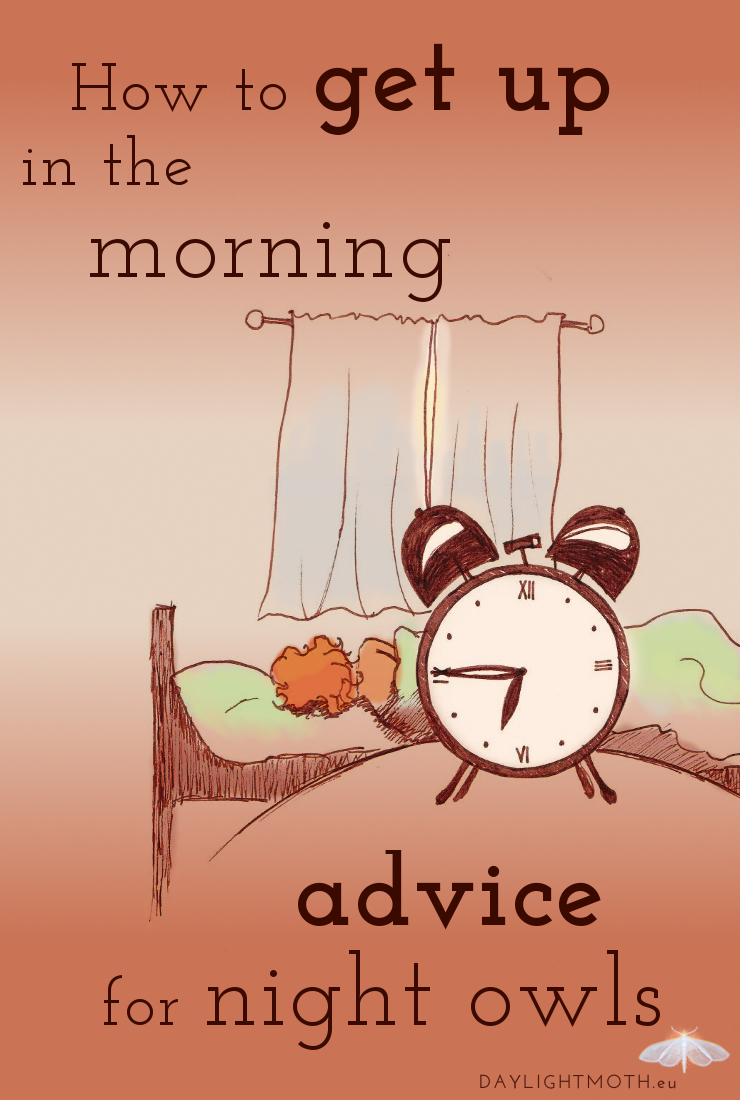
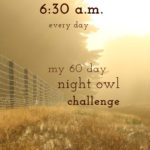
 How do you feel when you’re getting up in the morning? Are you energized and feeling ready for a great day? Or do you roll out of bed feeling grumpy and miserable and like you’re totally not up for anything? If getting out of your bed and starting your day is really hard for you and you’re looking for some tips to make your morning less dreadful – especially when you’re a night person – then this is for you.
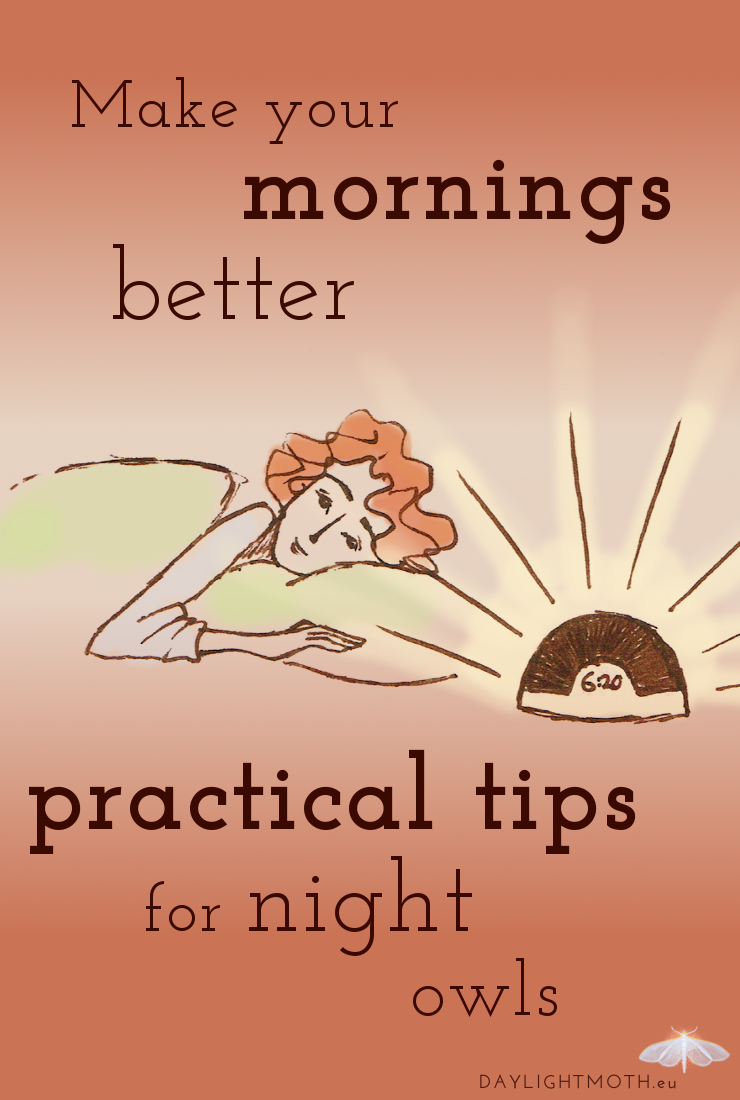

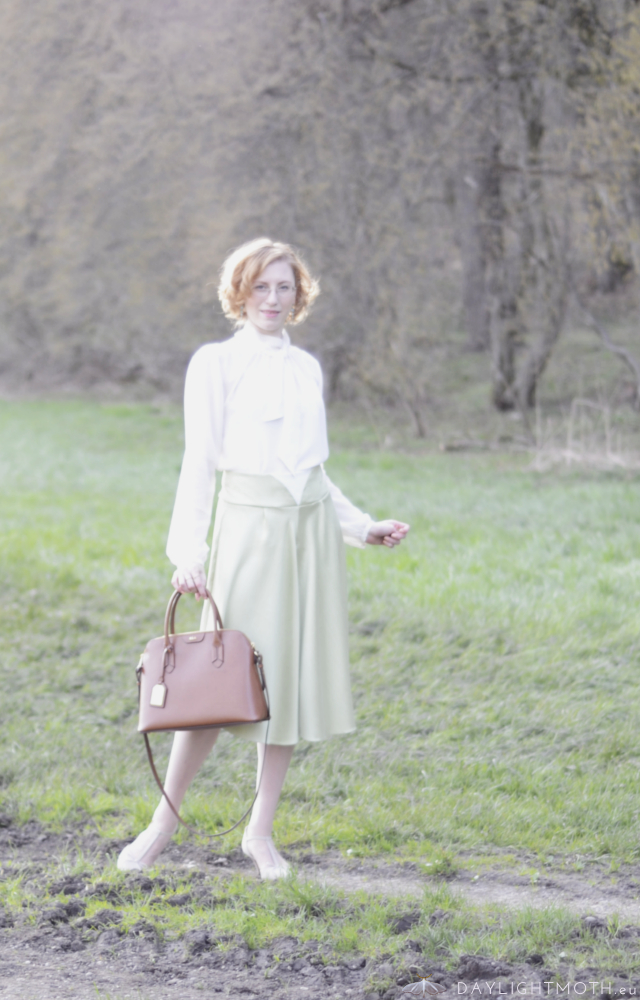
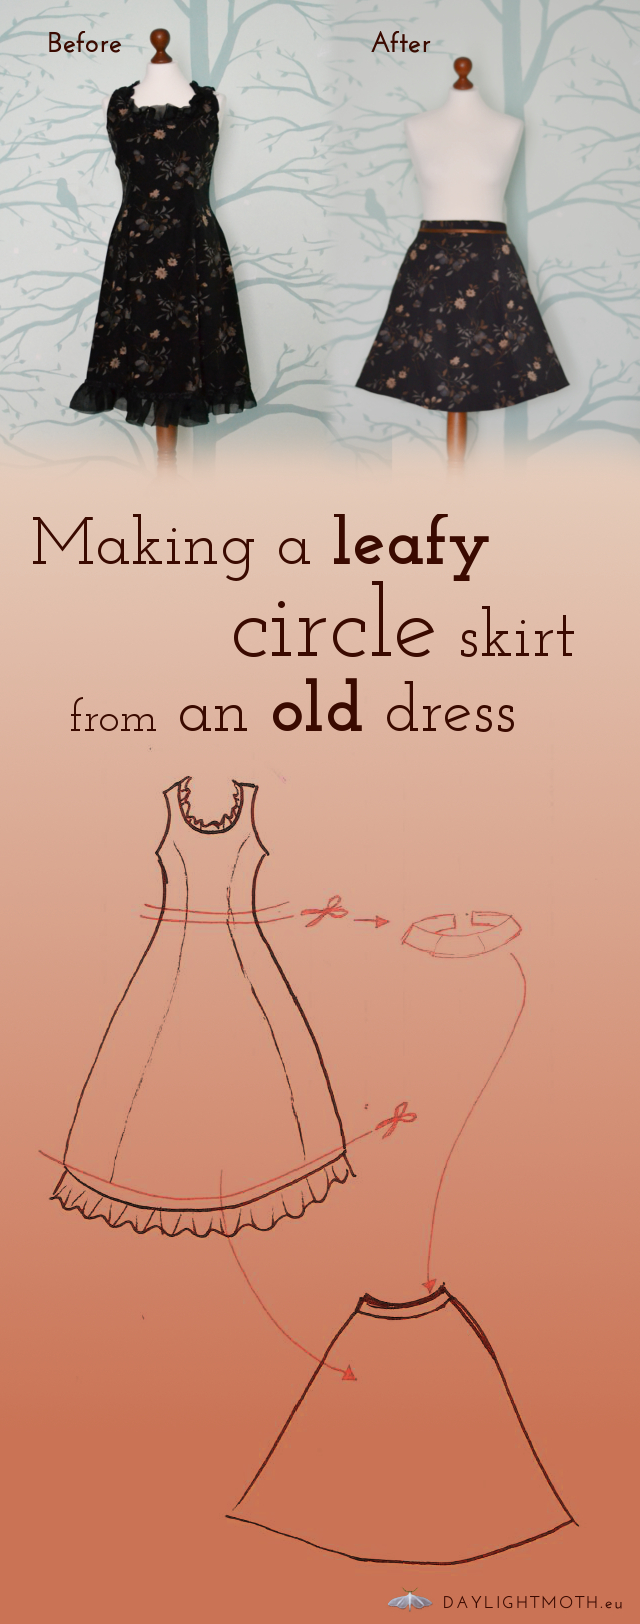
 Do you know this problem? You have an old dress that is still very beautiful but is just not your style anymore? And you can’t get rid of it because it holds dear memories? I know this very well. This project is a transformation of an old frilly dress that held special memories but was just not my style anymore to a clean cut circle skirt I like better and will hopefully be up for new memories to make.
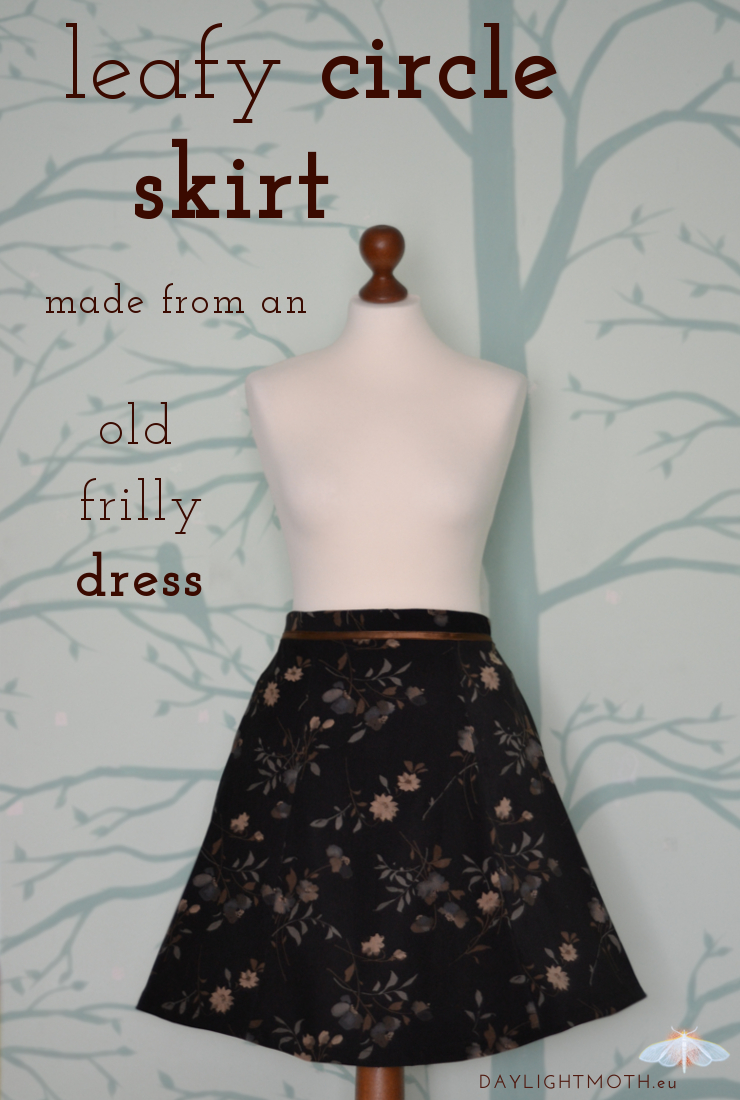

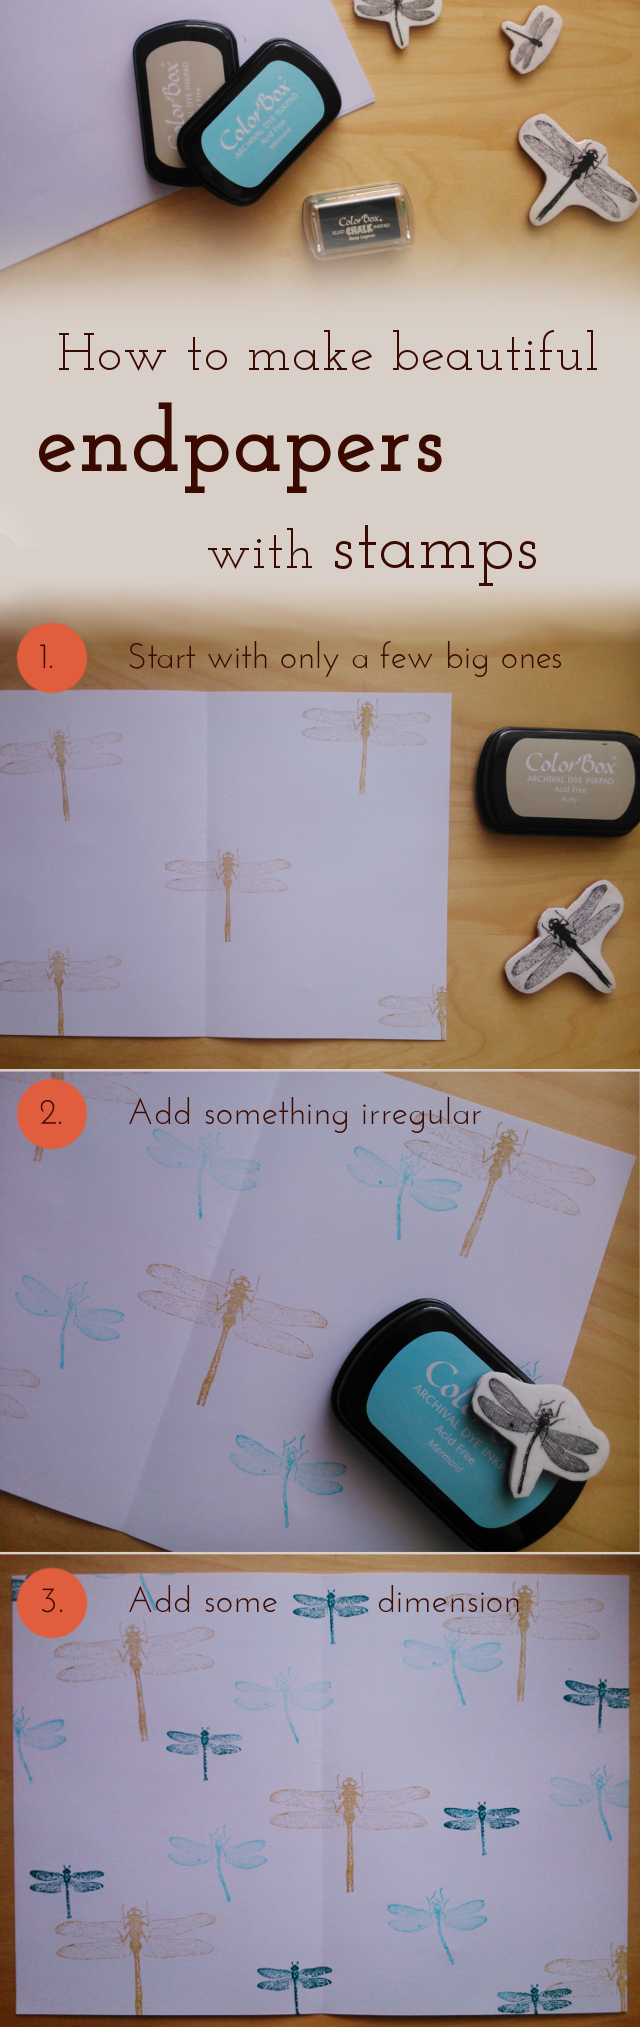
 When binding books I always place a decorative sheet of paper between my pages and my cover. When I started bookbinding, they were usually just plain sheets of coloured paper. Recently I discovered the beauty (and addictiveness) of stamps and decided to up my endpaper game by creating my own nice looking decorative endpapers. Of course you could also use this as your home-made very individual scrap book paper.
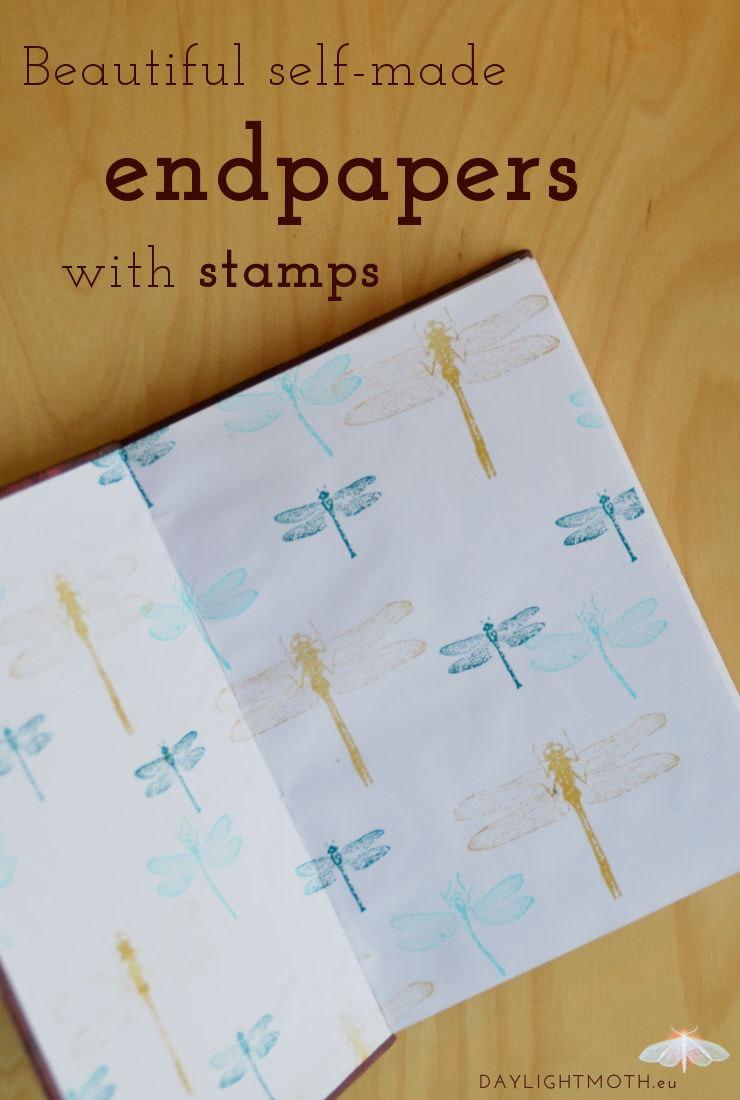
 Starting your day might be the most important thing. How you do it and how you feel when you do it sets the tone for your whole day. But how do you get up when you are naturally a night person and it’s just the hardest thing to you? Here is some advice on getting up from your residential night owl.