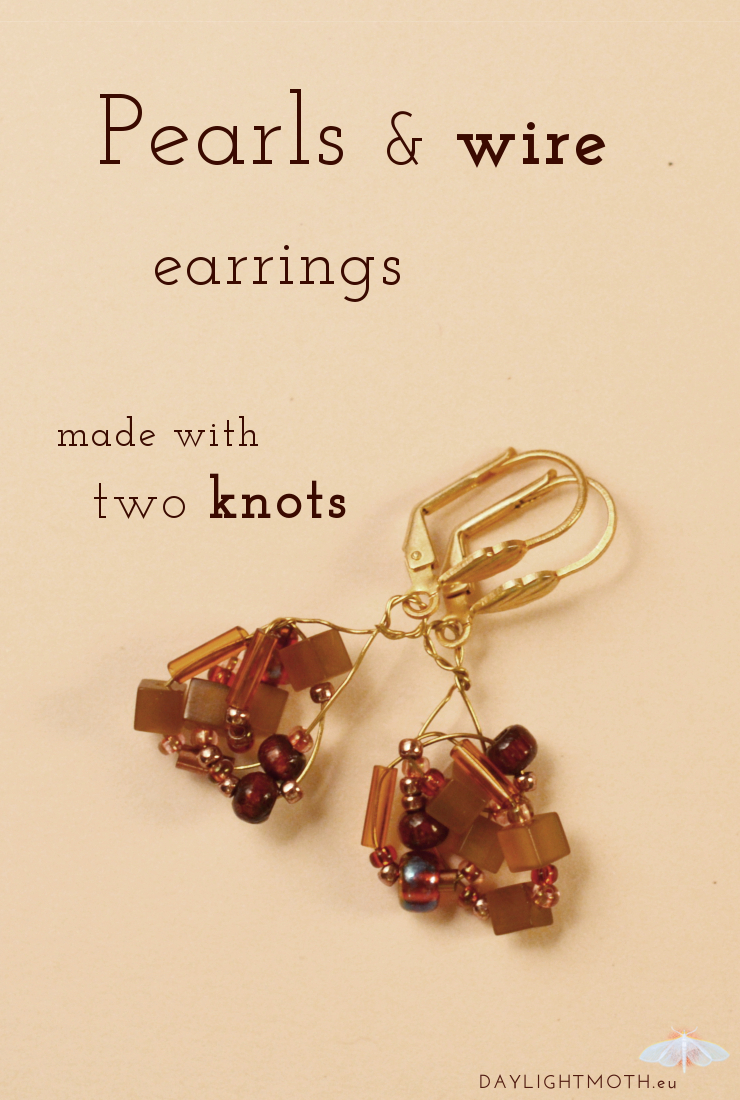
 In this post I want to share a way of combining different beads strung on wire and knotting them together to create jewellery. This is a great method if you want to use smaller beads. I especially like it as I can choose and combine colours or shapes as I like and create different effects. Also, it’s not very complicated or time consuming.
Step-by-step jewellery knots
1 Choose your colours
The most time consuming part for me is to select the batch of pearls I want to use in my project. I mostly stay with one colour and try to create depth with different tones. But two matching colours also look great. Sometimes I like to add small silver or golden pearls to add accents.
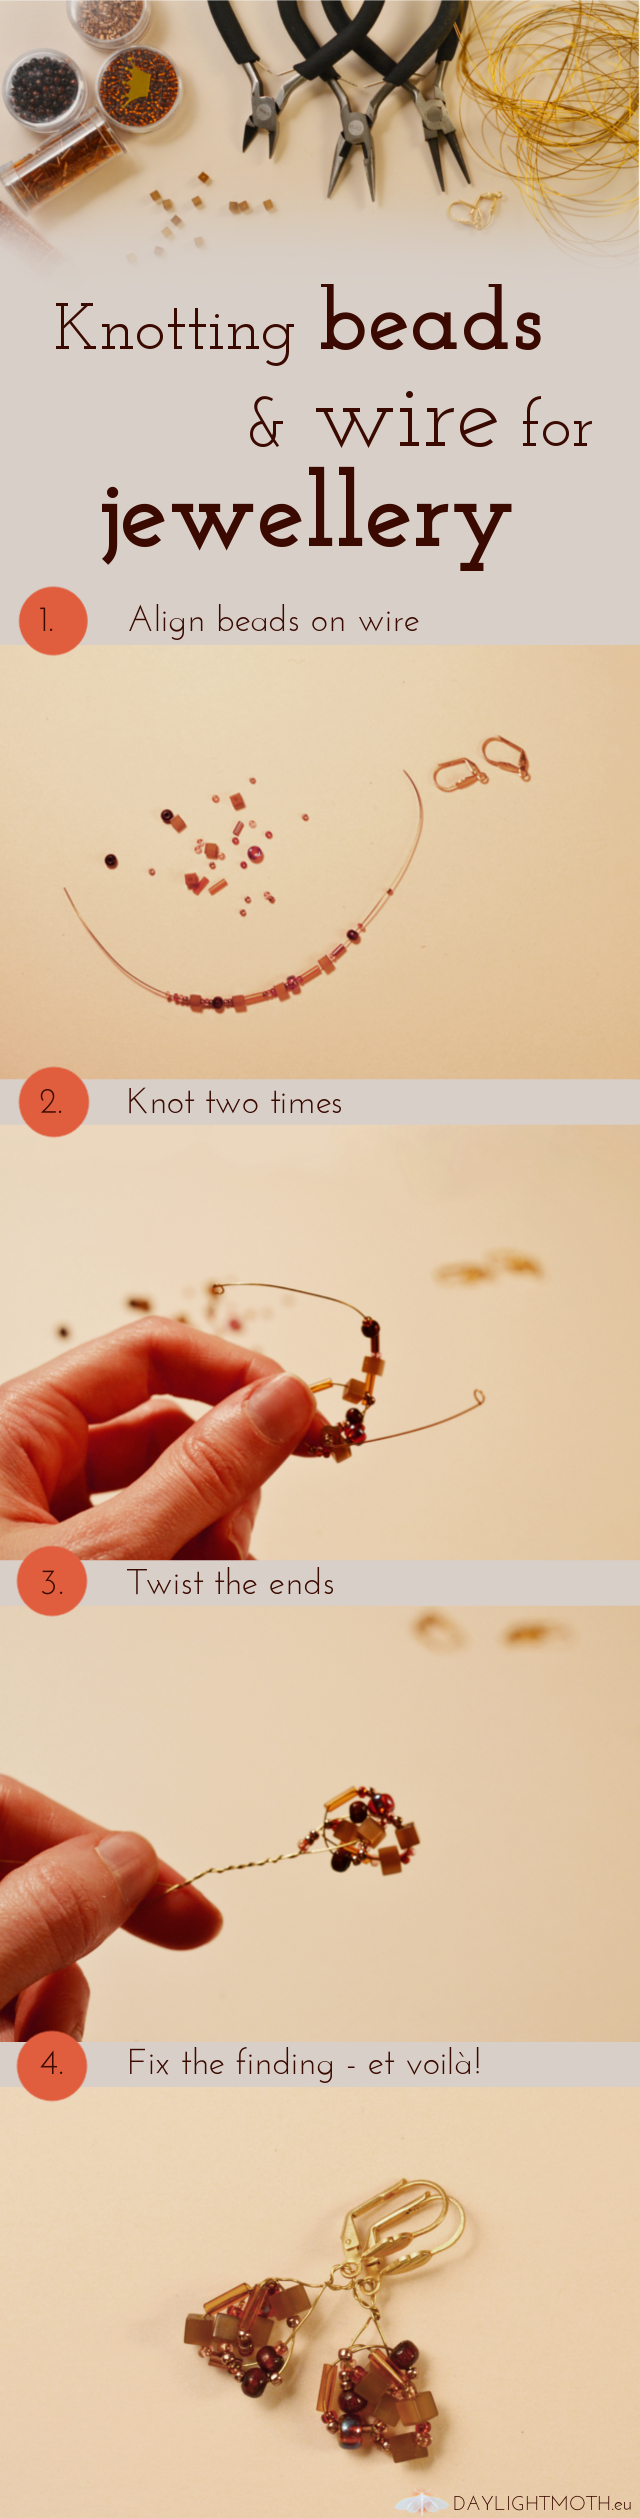
2 Get the pearls lined up
The next step is to cut a piece of wire (medium thickness) to bead the pearls. The wire should be considerably longer than your beads because you want to bend it, tie it and later have enough room to secure the whole thing with it.
Special tip: When all your pearls are on your wire, secure the ends so no pearls accidentally slip off when you twist and knot it. It’ll save you lots of nerves.
3 Make two knots
Start with the first one by bending the wire exactly in the middle and trying for a narrow knot. Your second knot can be looser. If you want to and still have enough wire and pearls left you can go for further knots. I try to knot my second one rather loosely because I find that this creates the most beautiful shapes and gives me the most control over the look I want to achieve.
Knotting wire with beads on it can be a little tricky and affords some patience and skilled fingers but it’s not that hard after your first try. And don’t forget: This is the most important part as your knots will define how your piece of jewellery will look in the end. You could tie a narrow or loose knot. You could make it a round ball, an oval shape or a flat drop shape.
4 Secure it
When you’re content with your shape secure the two ends by twisting them together. I like to use this twisted wire to form it into a ring for further use. Don’t twist too hard. This could destroy the shape you just made or break the wire.
5 Finish the piece
Now you can use your knot of pearls to finish a pair of earrings or a necklace. The knotted structure makes it quite robust (depending on the type of wire you chose) and up for almost any use.
Mix up the colours and shapes!
As you can see there’s no rocket science or witchcraft involved. It’s quite easy to do but still creates a complex effect. You could try it with your favourite colour. Or you could choose big round light coloured beads and combine them with small dark square ones. You could add in beads with special designs or shapes like flowers and leaves. You could choose a contrasting colour for your wire. Or you could do something completely different. I’m curious about what ideas you are coming up with! Definitely let me know in the comments!